

The Loqate Salesforce Commerce Cloud cartridge allows you to quickly and easily add Loqate address verification services to your instance of Salesforce Commerce Cloud, providing type-ahead lookup functionality for address fields, and validation for both email addresses and phone numbers. With some or all of these services enabled, you can reduce the amount of time spent inputting customer details, and improve the accuracy of your database.Documentation Index
Fetch the complete documentation index at: https://docs.loqate.com/llms.txt
Use this file to discover all available pages before exploring further.
Available services
The Loqate cartridge gives you access to these Loqate services in your Salesforce Commerce Cloud instance:- Address Capture, which provides a type-ahead solution for address input
- Email Validation, which ensures the accuracy of customer email addresses
- Phone Validation, which ensures the accuracy of customer phone numbers
Prerequisites
Before installing the Loqate cartridge you will need:- A live Salesforce Commerce Cloud account
- A live Loqate account
- A Loqate API key*
Process
The installation process is made up of the following steps:- Download and install the cartridge
- Add the cartridge to your cartridge path
- Import required metadata
- Configure your settings
- Add the module to your site
- Map your fields
Download and install the cartridge
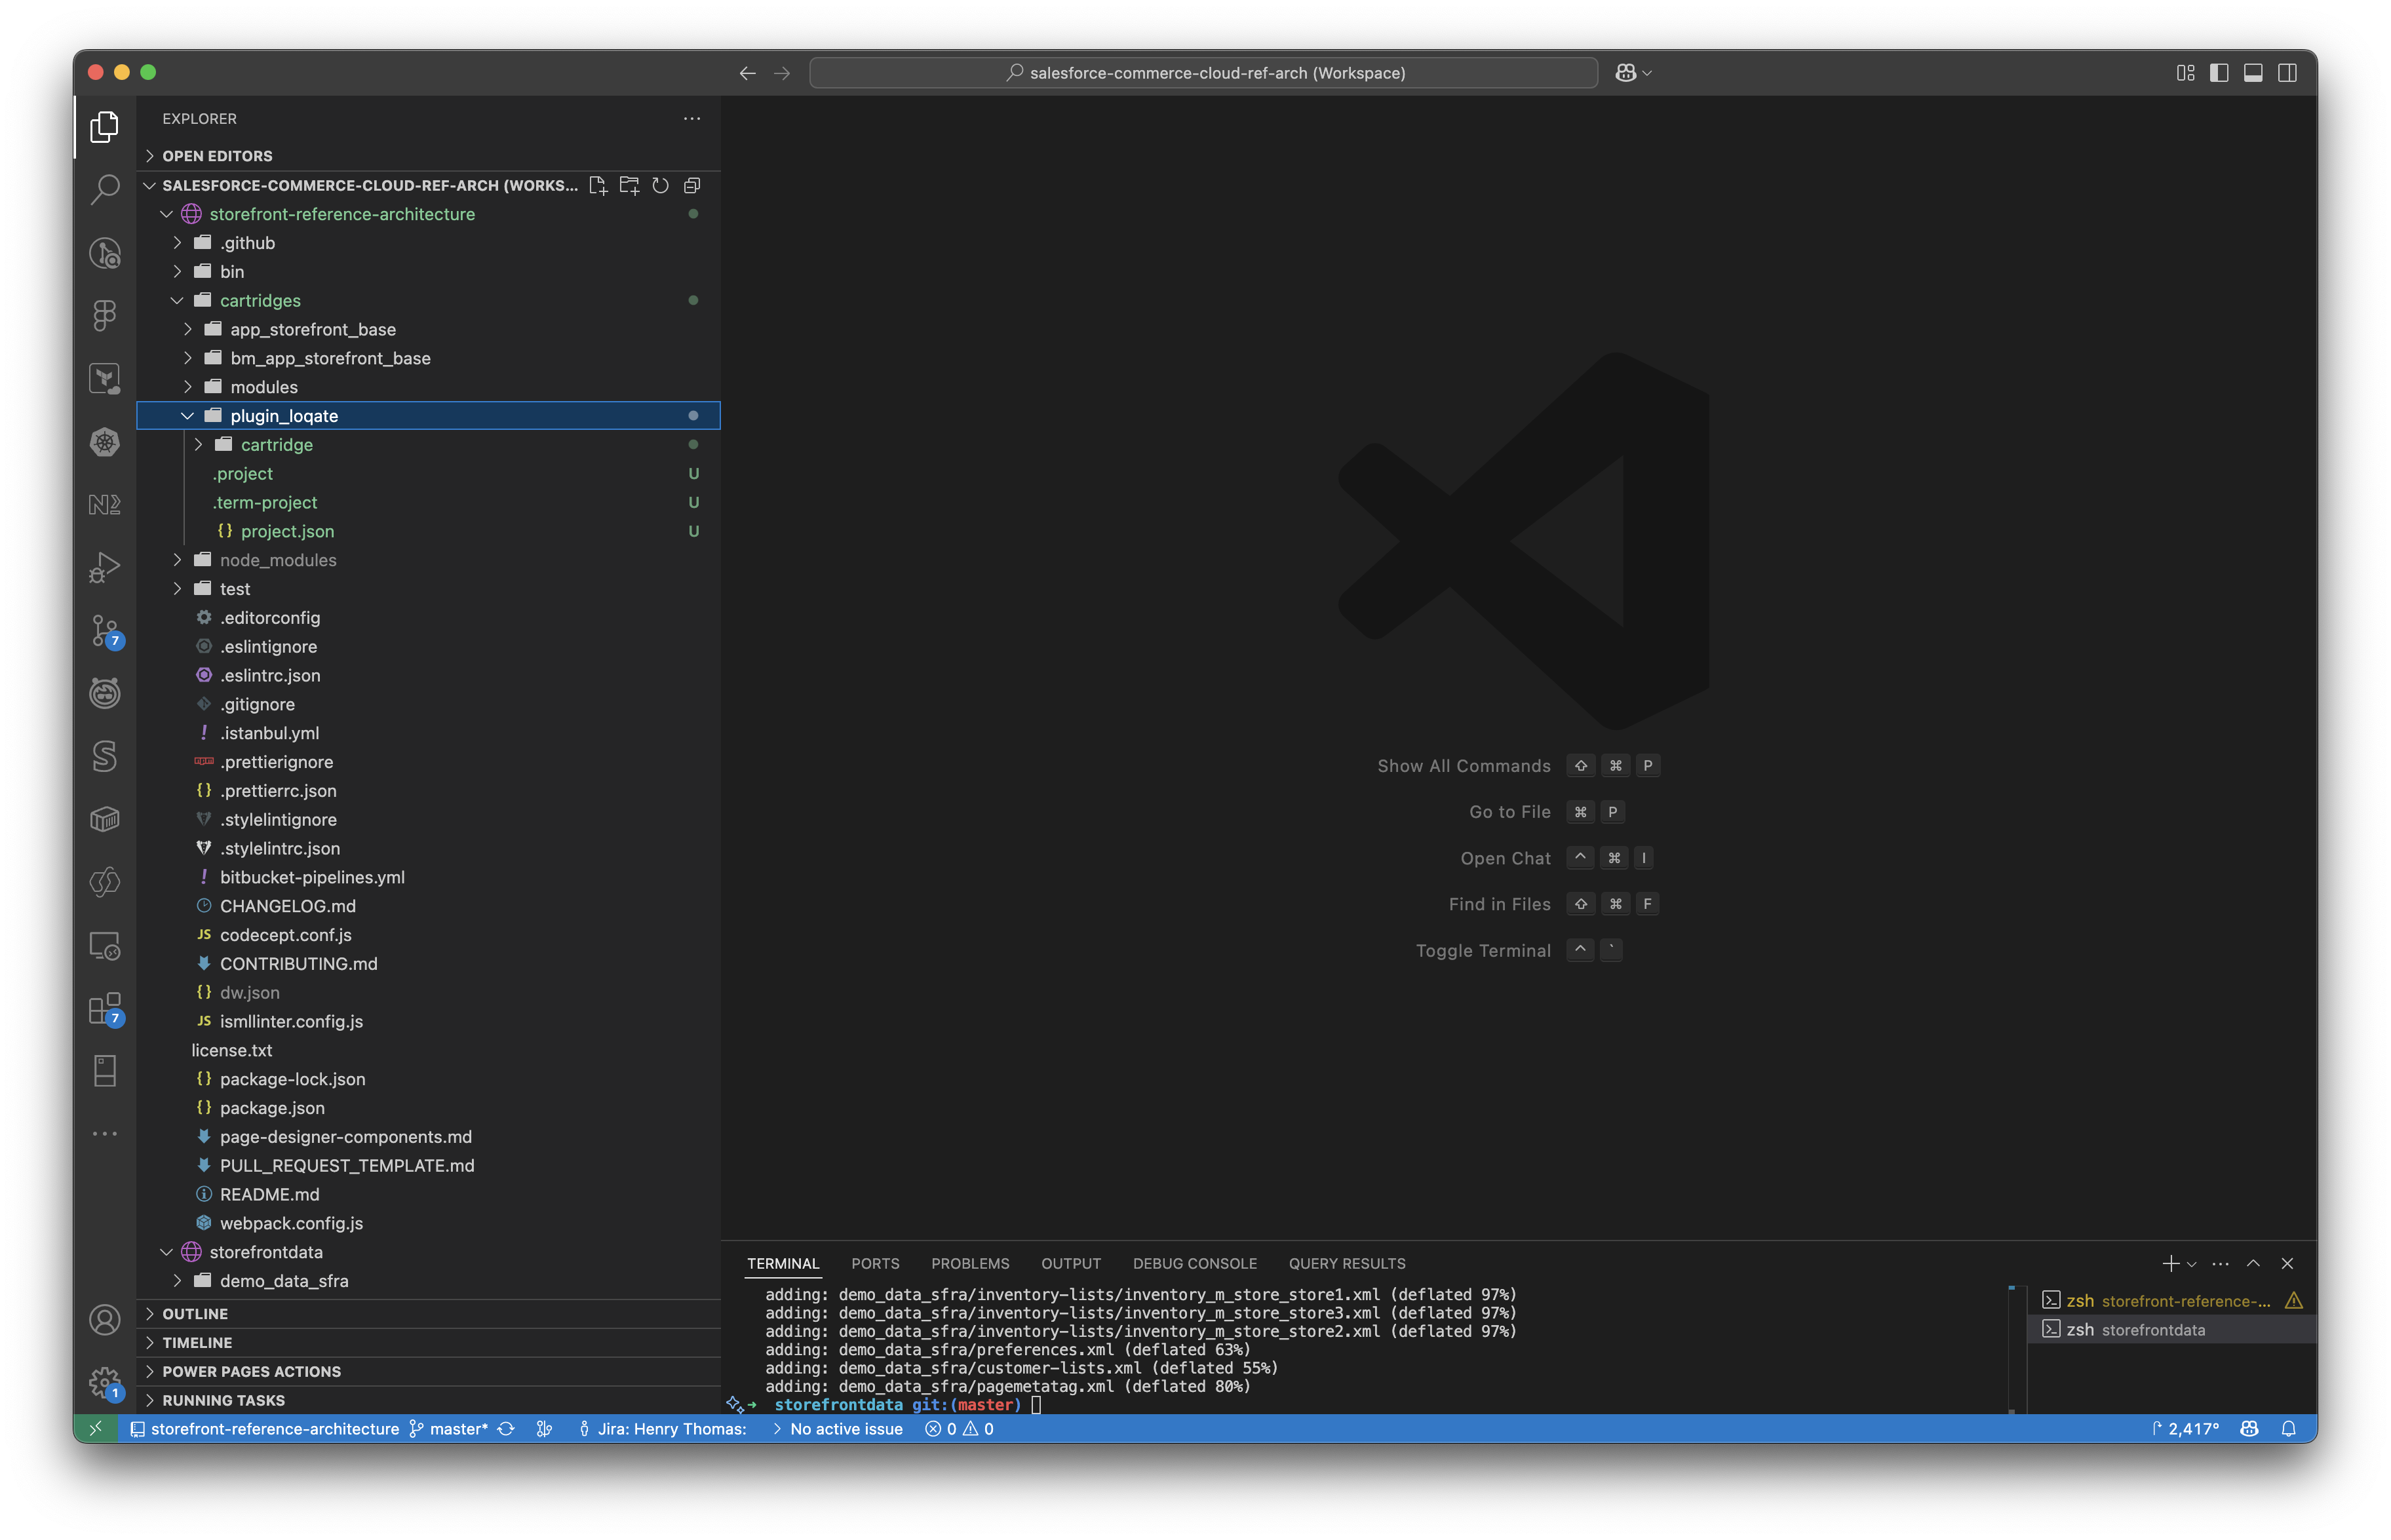
First, download the latest version of the Loqate cartridge. Once that’s downloaded:- Inside the cartridge zip file you will find two directories -
cartridgesandsystem-objects - Upload the
cartridgesdirectory and its contents (everything within theplugin_loqatefolder) to theCartridgesdirectory of your SFCC instance
Add the cartridge to your cartridge path
The next step is to update your site’s cartridge path to include the new Loqate cartridge.- You can do this in the Business Manager under Administration > Sites > Manage Sites > [Your Site] > Settings > Cartridge Path
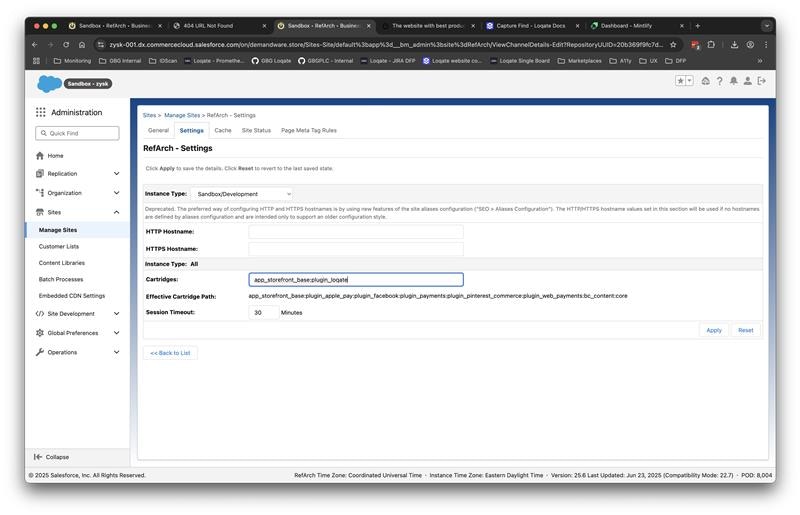
- Add
plugin_loqateto your cartridge path (Note: the cartridge path is colon separated)
Import required metadata
Next, import the metadata fileLoqateMetadata.xml, which is provided in the system-objects directory of the downloaded zip file.
- You can do this in the Business Manager under Administration > Site Development > Import & Export
- Upload the xml file via the Import & Export Files section
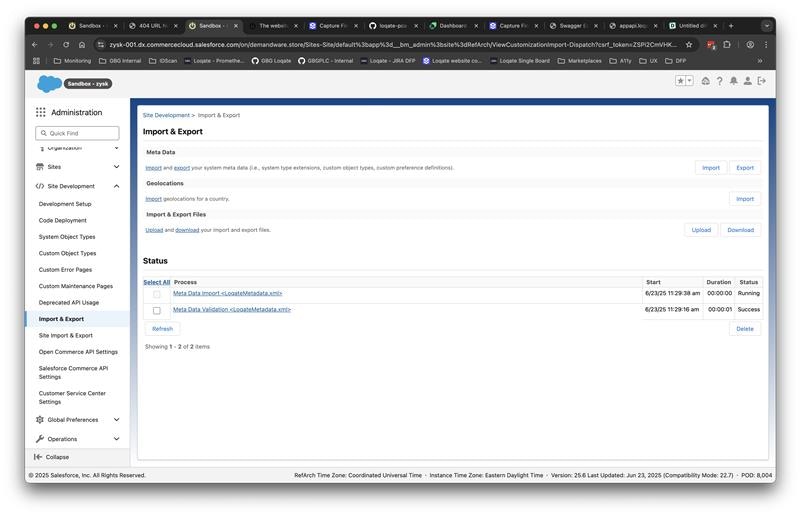
- Then import it via the Meta data section
Configure your settings
With everything imported and installed, the next step is to start configuring the cartridge.- Navigate to Merchant Tools > Site Preferences > Custom Preferences > Loqate
- Here you will be able to provide your Loqate account, and add any custom scripts your want to execute
We recommend you add this to the Header section of each page.